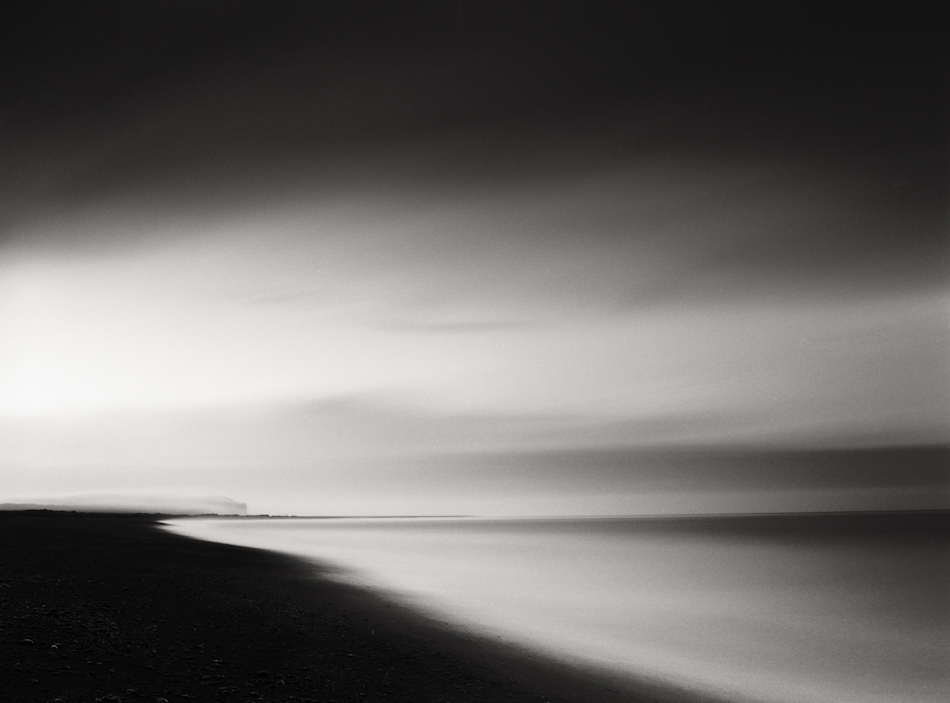
In this post I would like to share my personal experience with Lee Big Stopper ND filter, rather that provide full technical review, which you might be used to from other websites. I have been experimenting with Long Exposure techniques for couple of years. I started with just three EV stop full ND filter, which allowed me to get exposures in range from 1 to 30 seconds during the day. Latter on I become quite curios what the photographs can look like with longer exposures and I purchased ten stop round ND filter with the tread to attach to my lenses.
The firs results were impressive, I was able to reach times in space of minutes and I was enjoying it very much. However, after a while I was quiet struggling with the whole set up. It was not so difficult to use with my Canon 5D mark II, thanks to live view function, but with the analog Contax 645 it was extremely difficult. The main problem was that I had to screw the filter in and out couple of times to get the whole system set up correctly especially when used together with graduated neutral density filter. Unfortunately, there was also issue with strong vignetting in the corners and color shift. Even though, the results were worthy of the extra effort I was still hoping to find square filter which would fit into my Lee filter holder.
You can imagine how pleased I was, when Lee introduced its new full neutral density ten stop filter called “BIG STOPPER”. I can tell you, I placed my order immediately after the announcement and I was quite lucky to receive mine in early April 2010. As is standard for Lee products it came in nice black padded material pouch, so the filter is well protected when it’s not used, but it is very important to point out that you still have to be very careful since it’s a glass not resin filter and can be very easily broken. After first try I knew it is the best filter I have ever had in my photo backpack. It is very easy to use with other Lee filters and even with the Contax 645 it takes only few seconds to have the system ready to use. There is no vignetting in the corners and photographers who take mainly color pictures will be very happy to hear that the filter is producing almost no color shift, so it is really neutral:)
Just in case you would be interested, here is brief description of my workflow with Lee Big Stopper. Everything starts with the right composition, another step is to measure the base exposure (without any filter) and place the individual elements to their particular zones (0 to 9) and decide whether graduated ND filter is necessary. After my base exposure is measured, I place the Big Stopper to the holder, switch camera to Bulb mode, calculate ten stop from the darkest zone (including the reciprocity factor), fix the cable release, start my stop watch and wait and wait as long as it is necessary. Please note that with digital camera it is much easier to calculate the base exposure, and reciprocity is not a problem. (To be able to quickly get the final exposure time I did create a little table which shows me ten stop difference for all possible exposure times my camera is bale to deliver and it also shows reciprocity factors for my favorite Kodak T-Max 100 black and white film.)
I hope you find this post little bit inspiring and will try it yourself soon. It is real fun to experiment with long exposures, and it also gives you little bit extra time to think about your photographs or just to chat with your fellow fried. In case you travel with people who are not photographers advice them to take good book or music, which can help then to survive with you without destroying your expensive photographic equipment or in the worst case your friendship:)


