I wrote about my darkroom experience here, but later on I thought I should also write bit more about individual stages of my analog workflow. Therefore in this post I would like to focus on exposure and film development, since both are very important for future work in darkroom or in Photoshop. I am aware that internet is full of similar post and tutorials, so please take this as my individual approach, which is not the only one possible, but rather the one which works oaky for me. There are plenty of more experienced photographers, which I believe might have different opinion:)
I am sure you all have already heard about the “Zone System”. Therefore, I will not go into much detail, but just describe how I deal with it, since I mainly use roll medium format negatives, for which the proper Zone System is not really applicable. What I do, I use Sekonic spot meter to determine the exposure (EV) latitude with photographed scene and then I place the individual parts to their zones. For example if I have dark stone in the frame I usually put it to zone 3 and white snow or bright sky to zone 7 or 8, so the desired EV difference is 4 to 5 EV stops, which is fine for printing and scanning, but the actual difference in EV values can be much higher and you will not be able to get straight print witch such negative (have to say straight print should not be our goal, more about it later). In that moment the real Zone system comes into play and you expose the negative for shadows and develop for highlights, but that works only with sheet film, unfortunately not with roll film. When I started with film I really struggled to understand how I should develop my film when I have 36 or 16 different exposures on one role. My solution to that is actually quite simple. In some situations I am using LEE graduated ND filters to bring the EV values closer or I just take few exposures of one scene and take the film out of the of the camera and develop it according to Zone system. But I must be really sure that the photograph is worthy doing it, since the prices for black and white negatives are moving higher all the time. What is also helping me is the fact that I tend to take photographs in the similar weather conditions, during fogy, rainy and cloudy days, which by its nature creates low contras conditions and I have to actually increase the contrast level in my negatives by overdeveloping them by 10 to 20 %. My recommendation for you is to make attention to exposure metering and placing the objects in your scene to their desired zones (0-9) and then to calculate the actual EV latitude within the frame. If the contrast is too high use split ND filter when possible, or just bracket your exposure and take out the film and develop it for highlights. In case you have more different contrast pictures on one role of film, use bracketing and normal development.
One more thing I would like to mention regarding proper black and white negative exposure, in my case particularly important. I do use quite often long exposure to achieve my artistic goals, which requires exposure compensation, due to fact called reciprocity failure. In case of each film the compensation requirements are different, and since I am mainly using Kodak T-Max films (ISO 100 and 400) I created a little table (which you can see and download bellow) where I can easily find out correct EV values, when aiming for long exposure shot. It is very easy to use, for example let say my measured exposure for dark stone is 1/60 second (zone 5), I want to have the stone to be darker in final photograph so I place it to zone 3, which gives me exposure time 1/15. Since I do expose the negative for shadows I use this time and look for correct exposure time in my table. Lee Big Stopper filter extends measured exposure by additional 10 stops, which gives me time 68.3 second, with reciprocity failure compensation for Kodak T-Max 100 and 400 I get final exposure time 2.3 minutes. In case of Kodak Tri-x film, the exposure time is already 9.1 minutes. At this point you press shutter of your camera, start stopwatch, sit down and wait for this time to pass by. For me it is the time to relax and enjoy being out there early in the morning just me and nature, it is time for my meditation and dialog with landscape:)

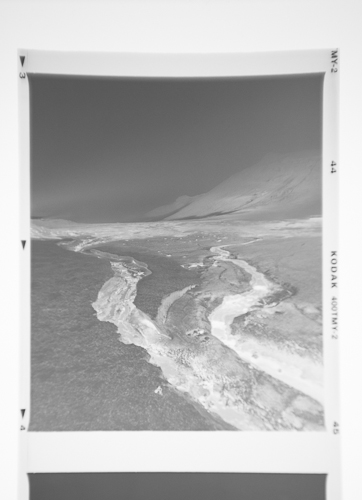
Title: Smoking Land III, Camera: Mamiya RB Pro S, Lens: Mamiya Sekor 50 mm, Film: Kodak T-Max 400, Exposure: 160″, f 16, Namafjall, Iceland, 2013
Now you have correctly expose negative and you rush home to develop it, but I really did not expect to write such long story about exposure that I will write about film development in the next post. So go out take some pictures on film using long and short exposures and get ready for next post. In case you have any questions or suggestion what I should do differently please do not hesitate to comment here or send me an email.